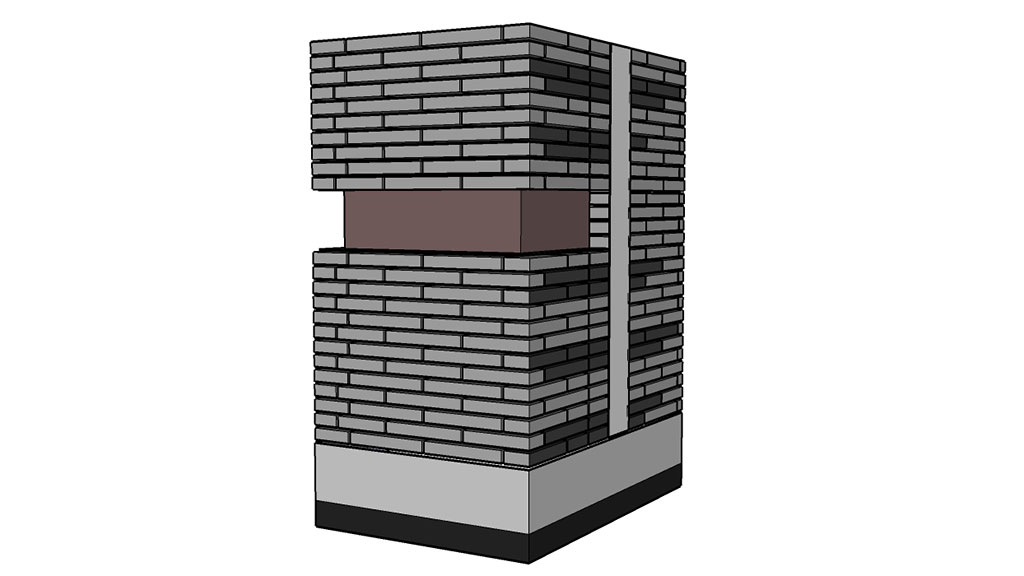
Image 2: Seattle Lemiux Library Seattle Pacific University Seattle, WA
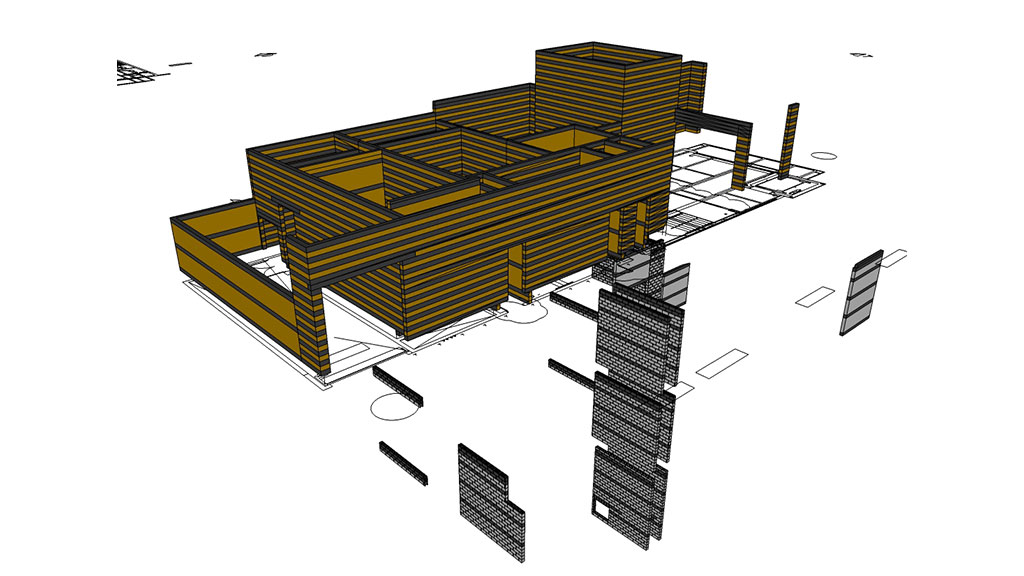
From there, we became involved with making a BIM brick mockup similar to a mockup panel (see Image 2). It showed the brick layout, coursing, flashing, relieving angles, and back-up wall. The model identified the areas that did not work and areas needing more detail. The payoff was that when the building was built, there were no issues with the modeled components.Image 3: Subway Transit Station Capitol Hill Seattle, WA
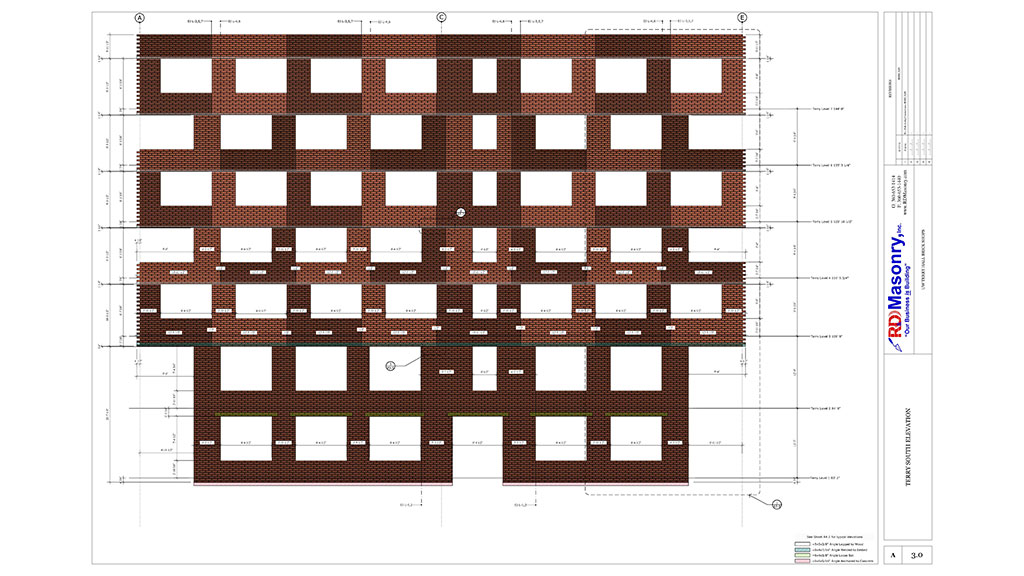
Our first large BIM project was modeled solely as a contract requirement (see Image 3). We modeled what the general contractor/construction manager (GC/CM) needed. The model was essentially used for clash detection between mechanical, electrical, fire and structural elements (our model was structural CMU). The model looked good, but it did not provide the information to really help our crew in the field. We did not provide the model or any of the information to our crews in the field.Image 4: University of Washington Maple and Terry Hall Seattle, WA
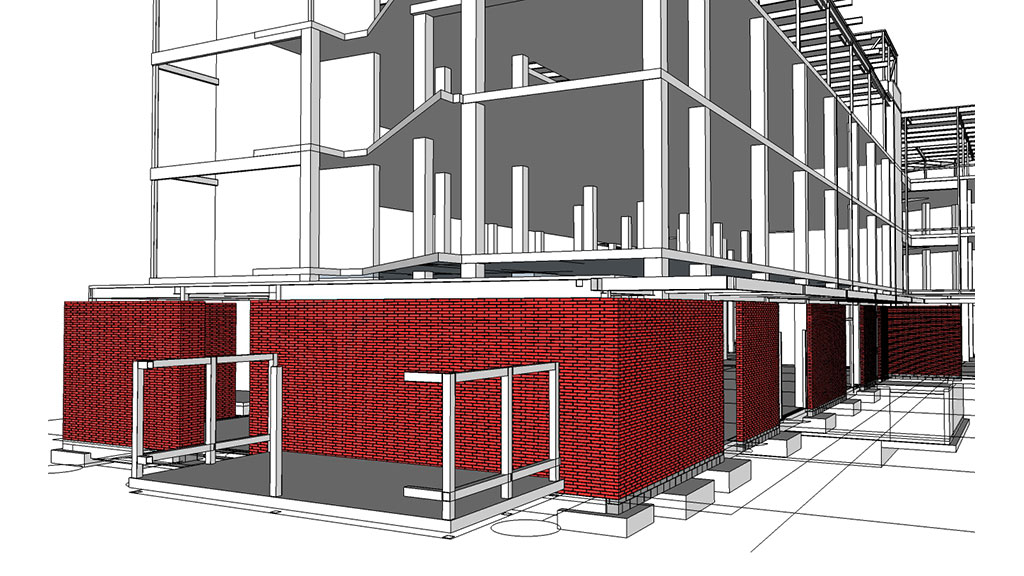
Image 5: Washington State University NPSE Everett, WA
When landing a project, one of the first things I do is request a set of PDF plans. If it is a project for which I am going to create a BIM masonry model, I also request the CAD backgrounds of the floor plans. Instead of having to draw and layout all the masonry walls, I can import the CAD drawings into the BIM model and create the walls from the layout already provided by the architect. I try to reuse the wheel, not reinvent it (see Image 5).